
Last updated September 10, 2026
Full 25-point door and opener safety check with every visit - springs, cables, rollers, tracks, and your LiftMaster or Chamberlain opener included
You get a price before we start. It does not change when the truck arrives.
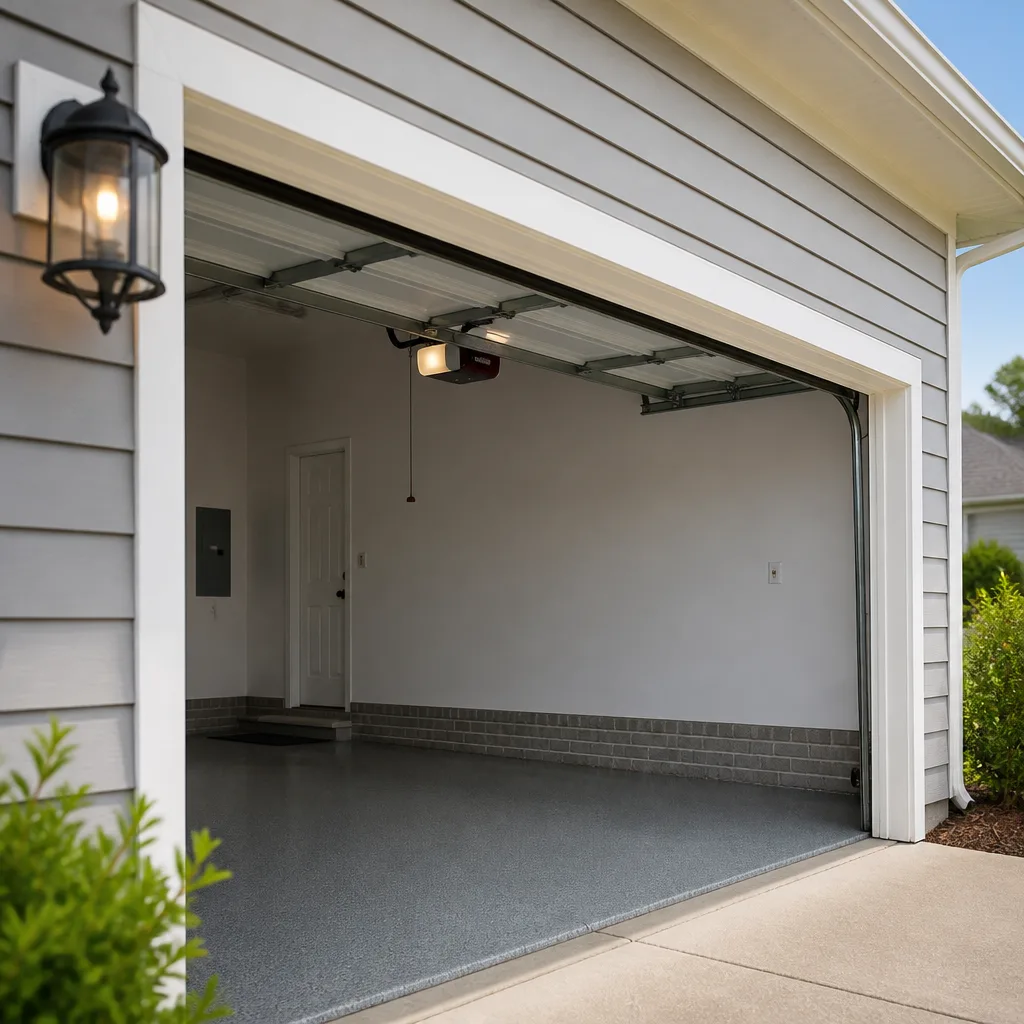
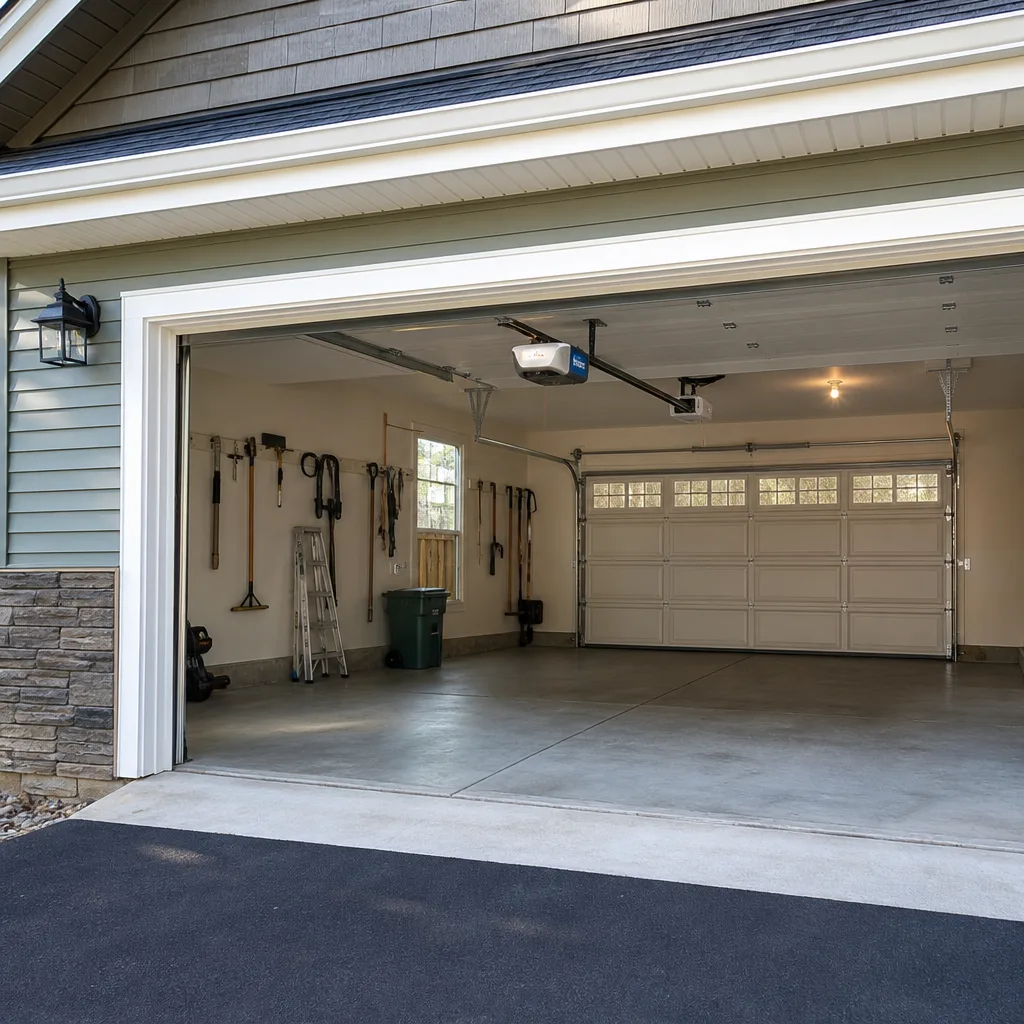
 Before
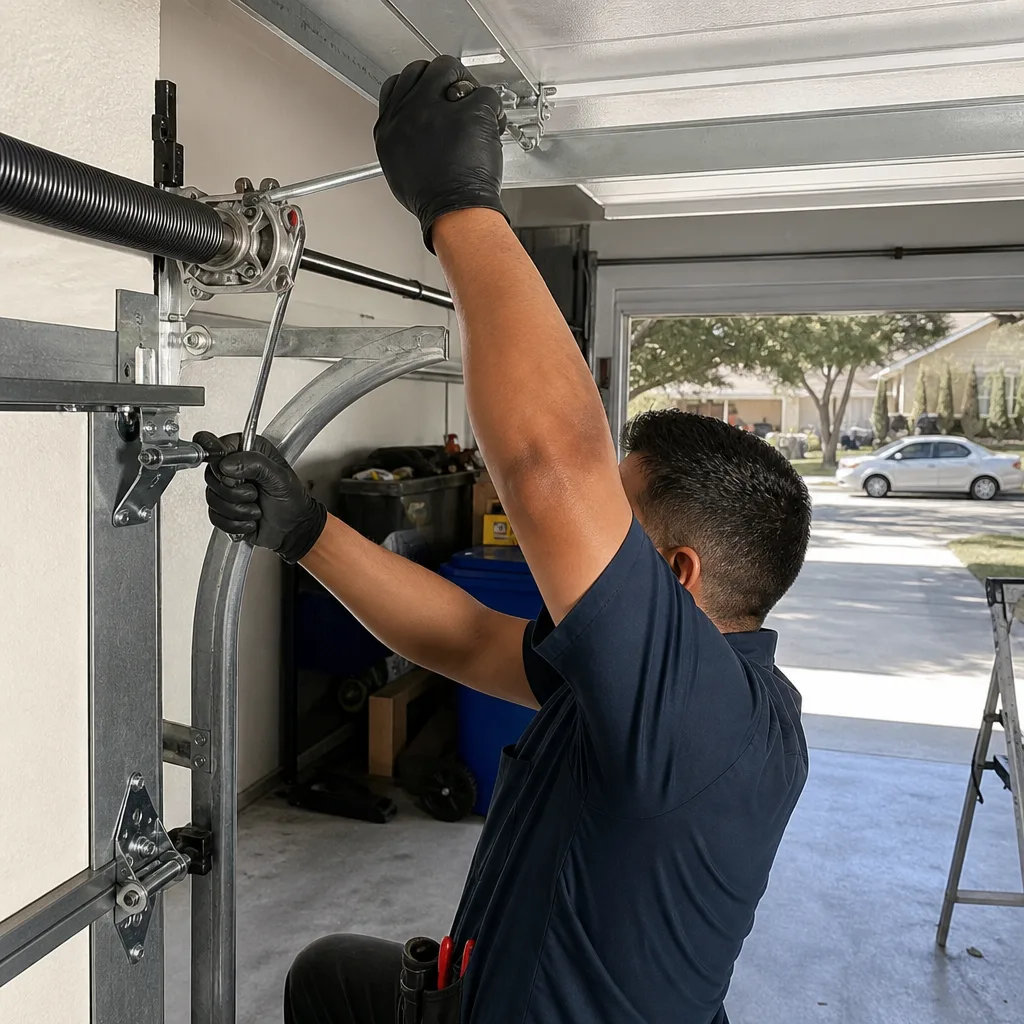 After
After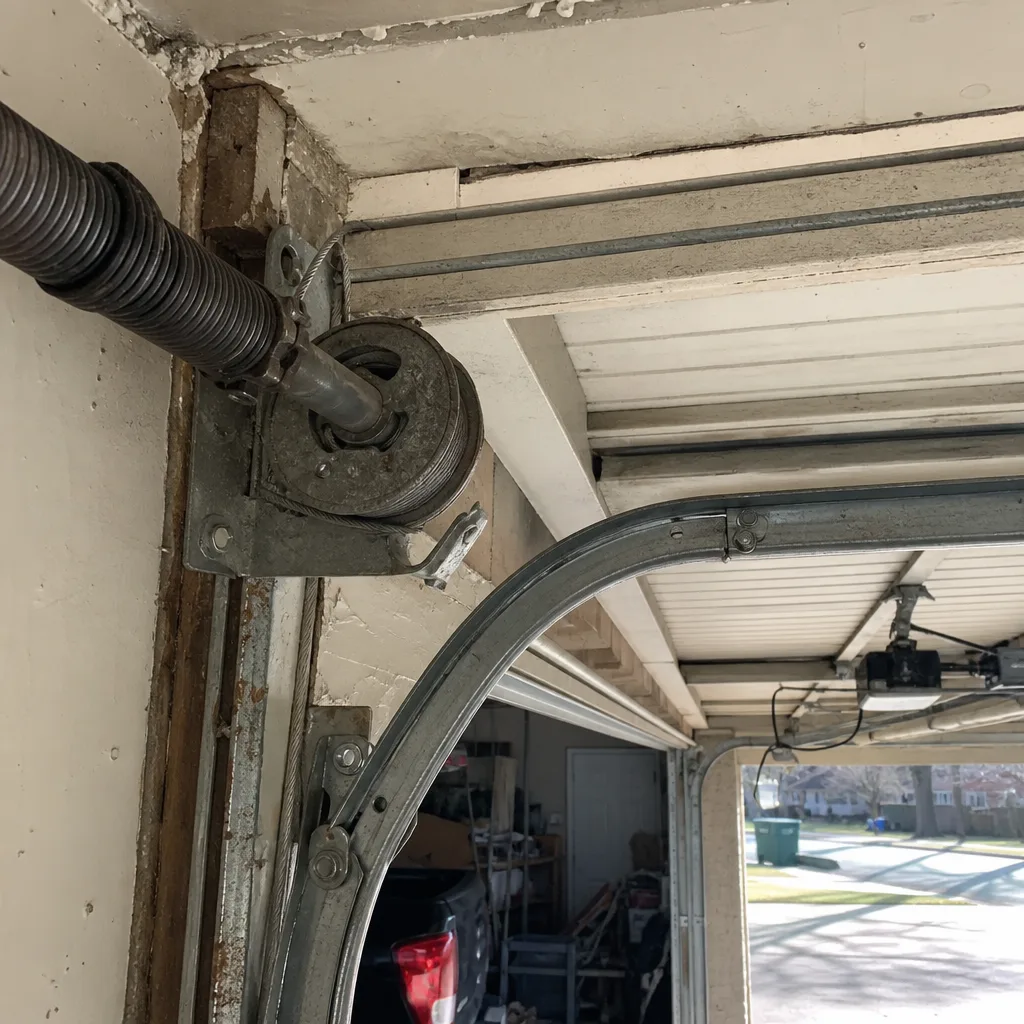 Before
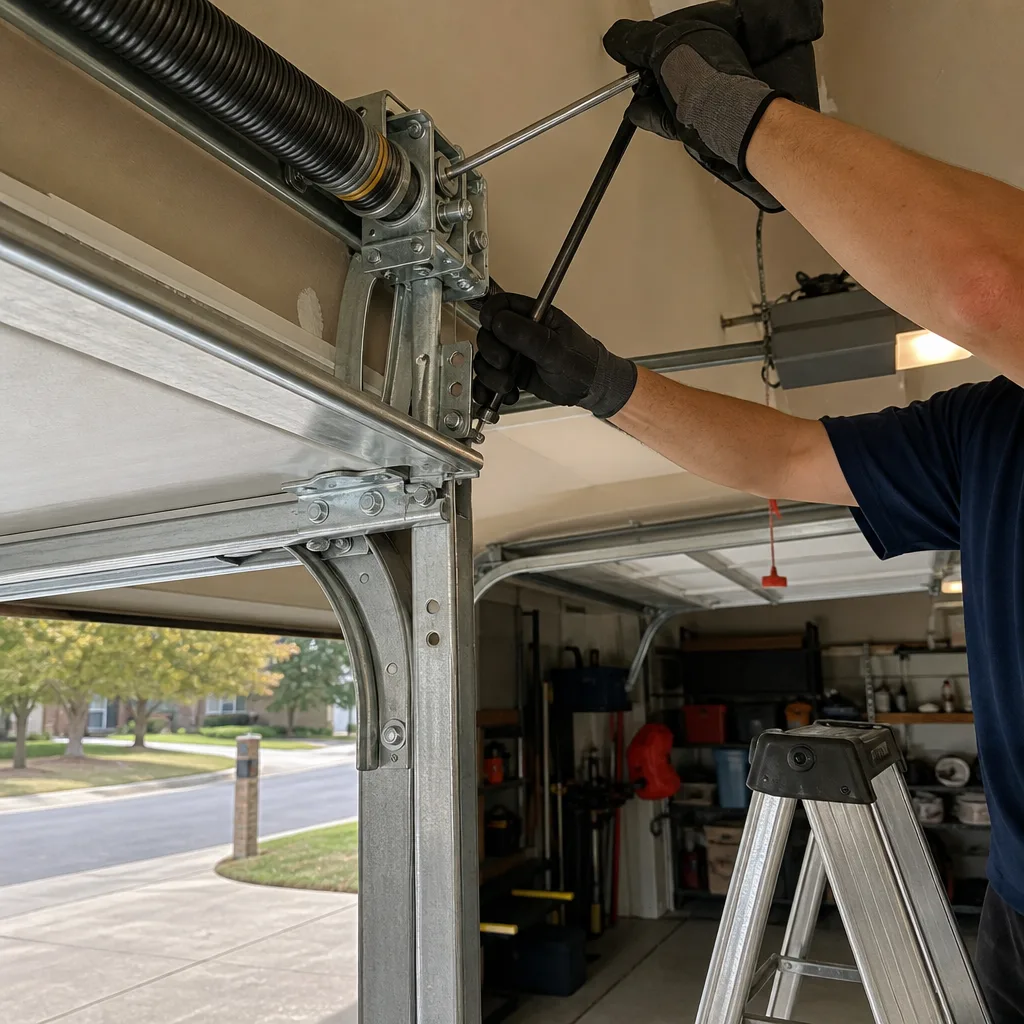 After
After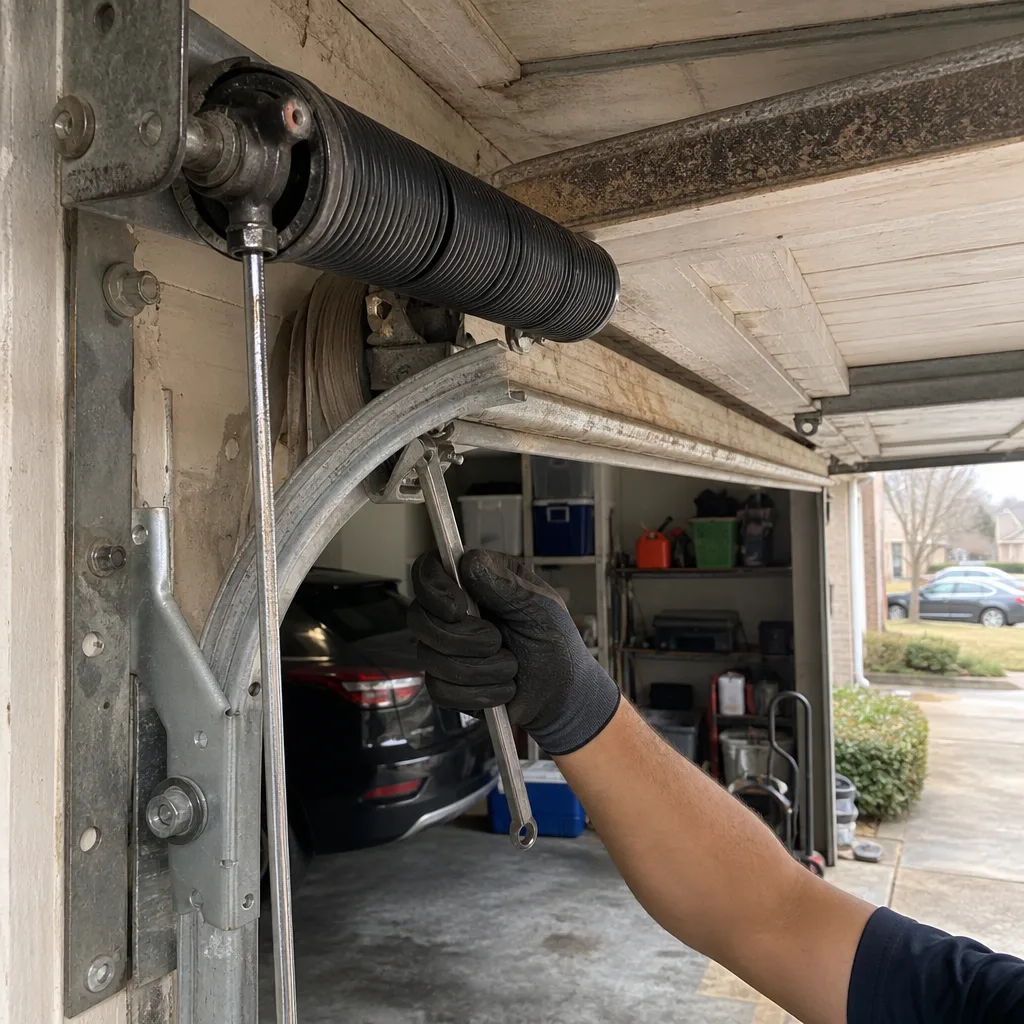 Before
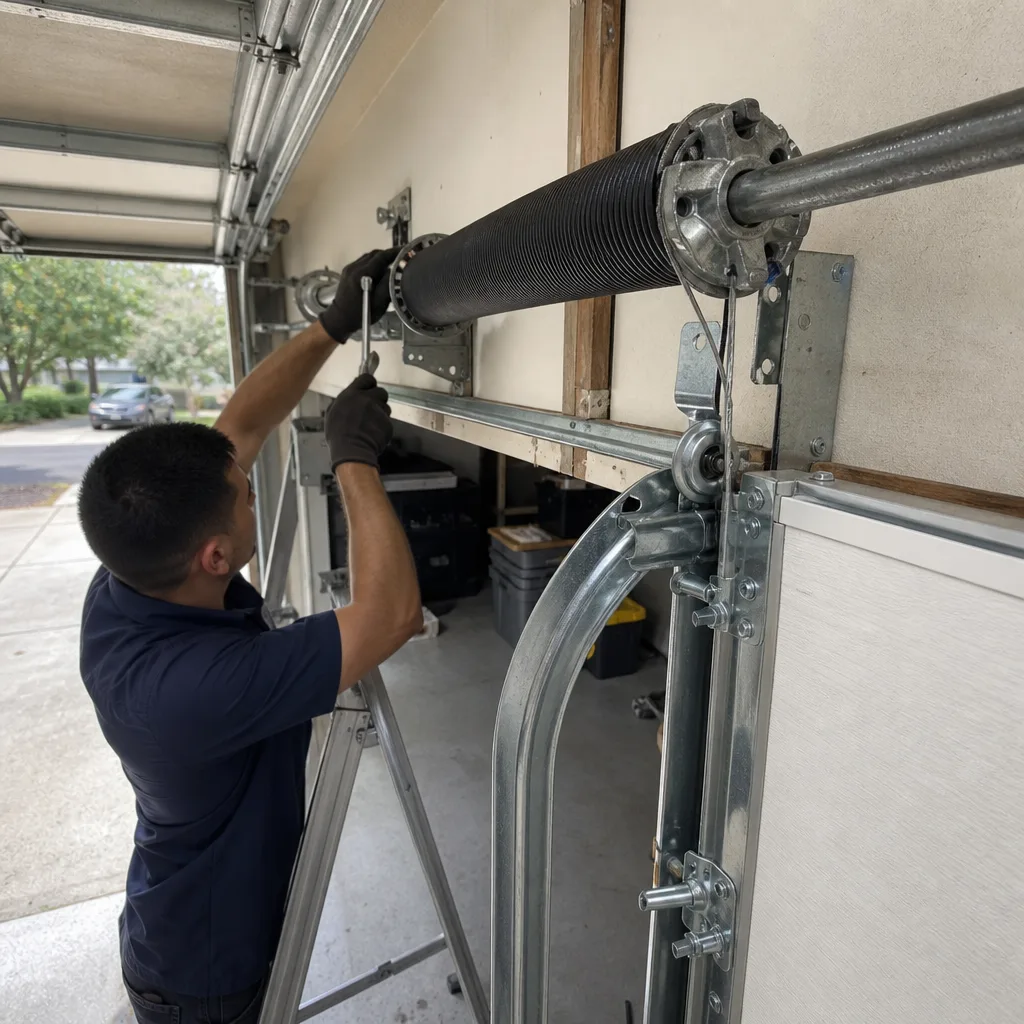 After
AfterDIY vs Professional Garage Door: The Dallas Homeowner’s Decision Guide
Here’s a number most Dallas homeowners never hear: a standard residential torsion spring under full tension holds roughly 150 to 200 pounds of torque per spring, and when that spring lets go because someone unwound it wrong, the winding bar becomes a projectile moving fast enough to break bone. We’re not saying that to scare you off your own garage. We’re saying it because every spring we’ve replaced in Lakewood, Garland, Mesquite, and Plano was wound by someone who either knew exactly what they were doing or got very lucky. The real question isn’t whether you can turn a wrench. It’s whether the specific job on your specific door punishes a small mistake with a hospital visit or just a second trip to the hardware store. This guide draws that line task by task, because most articles online won’t. They either tell you to call a pro for everything, which is lazy, or they tell you to watch a YouTube video and figure it out, which is dangerous.
Quick Answer
Most garage door upkeep in Dallas is genuinely DIY-safe for a capable adult with basic tools: lubrication, weatherstripping, sensor alignment, battery changes, and visual inspections. But anything involving torsion springs, cables under tension, or track realignment should be left to a licensed professional, because the failure mode on those parts isn’t a broken door. It’s a broken wrist, a damaged vehicle, or a door that falls off its tracks. If you’re unsure which category your job falls into, check our Garage Door Repair Maintenance Checklist for Dallas Homeowners or call Otto’s Garage Door at (972) 736-9689 and ask. A live person answers, and we’ll tell you straight whether it’s a Saturday project or a service call.
Table of Contents
- DIY-Safe Tasks: What You Can Honestly Handle
- Never DIY: The Danger List and the Physics Behind It
- The Middle Ground: Prep Work That Lowers Your Bill
- What a Botched DIY Garage Door Repair Costs in Dallas
- The Tool and Knowledge Threshold for Each DIY Task
- Dallas Climate and Your Garage Door: What the Heat Does
- Common Mistakes to Avoid
- When to Call a Professional
- Frequently Asked Questions
DIY-Safe Tasks: What You Can Honestly Handle
Some garage door work is about as dangerous as changing a furnace filter, and paying someone $150 to do it is money you could keep. In our experience across Dallas, the following tasks are safe for a homeowner with basic hand tools, a step ladder, and the willingness to read the manual that came with the opener. None of these involve stored mechanical energy, and none of them can cause the door to fall.
1. Lubricating hinges, rollers, and springs. This is the single most neglected maintenance task we see in Dallas, and it’s also the easiest to do yourself. Buy a can of white lithium grease or a dedicated garage door spray lubricant from any hardware store. Apply it to the hinge pivot points, the roller stems, and the spring coils twice a year. Do not use WD-40 on garage door parts. It’s a solvent, not a lubricant, and it will strip whatever grease is left. In Dallas’s dry heat, unlubricated rollers wear out in half the time they should.
2. Replacing bottom weatherstripping. The rubber strip along the bottom of your door cracks and flakes after a few Texas summers. When it goes, you’ll feel the draft, see the light coming under the door, and start finding dust and leaves inside the garage. Replacement is straightforward: slide the old strip out of the aluminum retainer channel, slide the new one in. A 16-foot length costs under $25 at any Dallas hardware store. Takes about 20 minutes.
3. Aligning photo-eye sensors. If your opener’s sensors get bumped or knocked out of alignment, the door will refuse to close and the opener lights will blink. The fix is usually just a matter of loosening the wing nut on the sensor bracket, aiming the beam, and checking that both lights are solid green. It costs nothing and takes ten minutes. The one thing to know: if the sensors are clean, aligned, and the lights are on but the door still won’t close, the problem is the logic board in the opener, and that’s a professional repair.
4. Replacing opener remote batteries and reprogramming remotes. If your remote works only from ten feet away or not at all, change the battery first. If that doesn’t fix it, the remote may need to be reprogrammed to the opener, which is covered in your opener’s manual and involves holding the Learn button on the motor unit for a few seconds. This is a five-minute job that never requires a service call.
5. Tightening loose bolts and hardware. Garage doors cycle thousands of times a year, and bolts work themselves loose, especially on doors installed before about 2010. Go around the door once a year with a socket set and snug up the track brackets, hinge bolts, and opener mounting bolts. Do not overtighten the lag screws into the door frame, or you’ll strip the wood and create a bigger problem. Snug is enough.
These five tasks account for a big share of the service calls we receive in Dallas, and every one of them is something a careful homeowner can handle-no Garage Door Permits, Codes & Inspections in TX required. If you try one and hit a snag, call us and we’ll walk you through it on the phone when it’s safe to do so.
Never DIY: The Danger List and the Physics Behind It
Now we draw the line, and we draw it hard, because we’ve seen what happens when a homeowner crosses it. The following tasks should not be attempted by anyone who isn’t a trained garage door technician with the right tools and years of experience. This isn’t gatekeeping. It’s math.
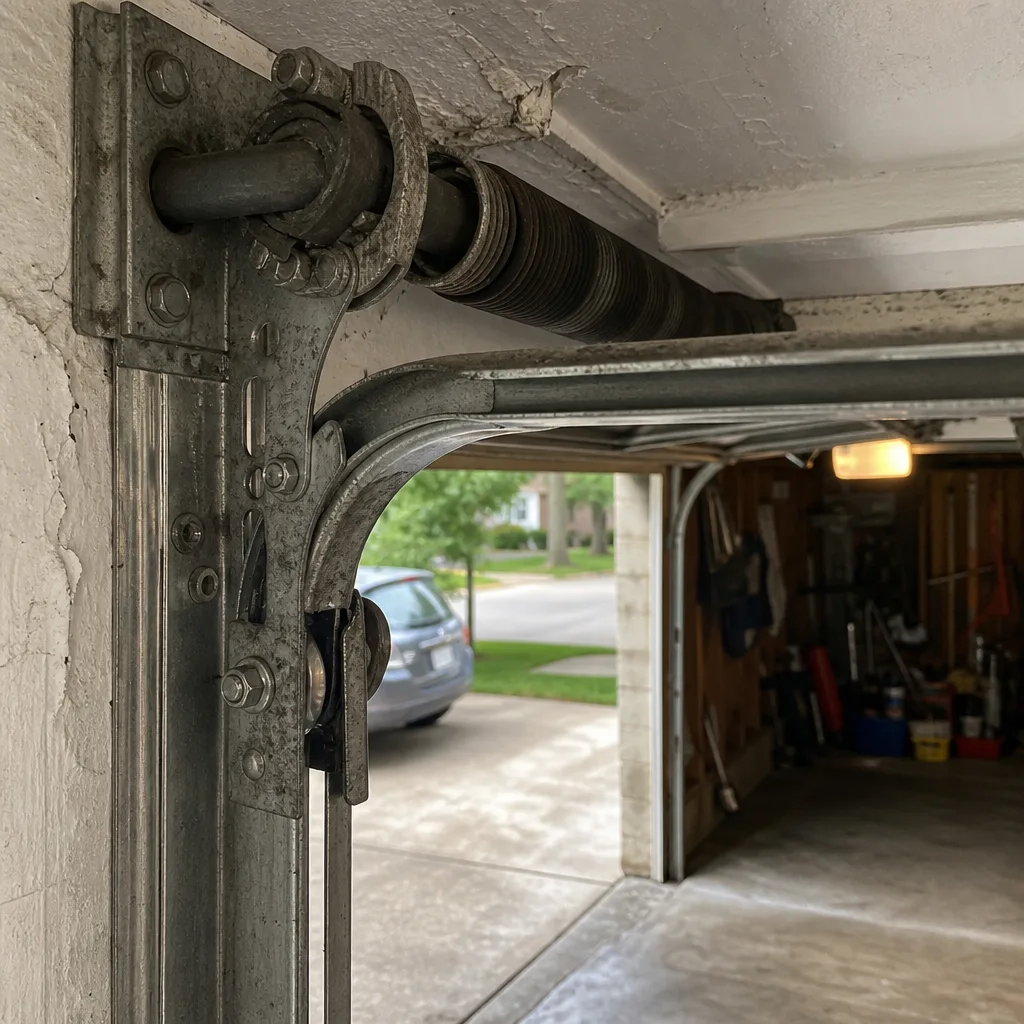
Torsion spring replacement. Here’s the physics, plain. A torsion spring is a coil of hardened steel mounted above the door opening, and it works by twisting. When the door is closed, that spring is wound tight, storing energy in the form of torque. It stores enough energy to lift the door, which weighs 150 to 400 pounds depending on the model. If you insert a winding bar into the cone and the spring slips, that bar becomes a lever arm with all that stored energy behind it. It will spin. It will hit whatever is in its path, and in the confined space of a garage, what’s in its path is you. Emergency rooms in Dallas treat spiral fractures, shattered eye sockets, and traumatic brain injuries from exactly this scenario every year. We will not walk anyone through a torsion spring job on the phone. We’ll come out and do it for you, usually the same day, and the price is quoted before we arrive and does not change at the door.
Cable replacement. The lifting cables run along both sides of the door and attach to the bottom brackets. When the door is up, those cables carry the full weight of the door. If one snaps while the door is partially open, the door can drop, and if you’re standing under it, you’re in real trouble. Replacing a cable requires releasing the tension from the springs, which loops you right back into the torsion spring problem. One wrong move and the cable whips. It will cut. We replace cables as part of spring jobs routinely, and we never do it without taking the tension off the springs first, the safe way.
Track repair or realignment. The vertical and horizontal tracks guide the door through its arc, and they’re under side load the entire time. If the track is out of alignment, the rollers bind, the door jerks, and someone decides to “just bend it back” with a pry bar or a hammer. What happens next is either a roller pops out of the track and the door hangs cockeyed, or the track gets kinked and scores the rollers. Both turn a $150 adjustment into a $600 repair. Track work requires getting the door balanced, the brackets repositioned, and the alignment checked at three points. That’s measured, not muscled.
Panel replacement on a sectional door. If a panel is dented or cracked, the temptation is to order a replacement panel online and swap it. What most people don’t know is that your new panel must match the exact manufacturer, model, color, and production run of the existing door, and even then, the door needs to be rebalanced after the panel goes on because the weight distribution changes. On doors from Clopay, Amarr, and Wayne Dalton, a mismatched panel will bind in the track and strain the opener until something fails. This is a job for a technician who can order the correct panel and set the door up right afterward.
Converting from extension springs to torsion springs. Some older Dallas homes have extension springs running along both sides of the horizontal tracks. They look exposed and old-fashioned, and they are. Converting to a torsion setup requires new mounting pads, new cable drums, new cables, and a careful spring calculation based on the exact door weight. Get any part of that wrong and you have a door that either flies open or refuses to stay up. This is one of the most common jobs we do on homes built before 1985 in East Dallas and Oak Cliff.
The rule is simple. If the part is connected to a spring, a cable under tension, or the structural track that guides a 300-pound door, that’s not a DIY project. That’s a call to a professional who carries the right tools, the right replacement parts, and insurance that covers the worst case.
The Middle Ground: Prep Work That Lowers Your Bill
Here’s the part most guides skip. Between “do it yourself” and “call a pro” there’s a third lane: do the prep work yourself so the technician spends less time on site, and you pay less for the visit. We encourage this. A homeowner who has already cleared the area, taken measurements, and noted the symptoms saves us 30 minutes on site, and that savings shows up on the invoice.
1. Measure your door before you call. If you’re calling about a new door or a replacement panel, have the width and height of the door opening ready, plus the headroom (the space between the top of the opening and the ceiling) and the side room (the space from the opening to the nearest wall). Write down the brand name if you can find it on a sticker on the inside of the door. This lets us bring the right parts on the first trip instead of the second.
2. Clear the garage floor and the track path. Move vehicles, bikes, storage bins, and anything else within eight feet of the door. We need room to set up ladders on both sides and work on the tracks. A clear work area is faster and safer, and you’d be surprised how many Dallas garages have a workbench right under the torsion spring.
3. Photograph the problem. Take clear photos of the broken spring, the dented panel, the frayed cable, or the opener model number. Text them to us when you call. A photo lets us quote the job more accurately over the phone, and Otto holds that number when he arrives.
4. Test the door and write down what it does. Does it open halfway and stop? Does it make a grinding noise? Does it reverse for no reason? Does one side sit higher than the other? Specific symptoms lead to specific diagnoses, and that means a faster visit and a more accurate price.
5. Decide what a fair price looks like to you before you pick up the phone. We quote upfront, we hold the price, and we don’t pad the bill. But you should still know what your budget is. That way, any conversation about repair versus replacement starts with your number, not ours.
None of this prep work puts you in danger, and all of it makes the professional’s job faster. For more guides & resources on getting the most from your service visit, explore our blog. That’s the smart way to be involved in your own garage door repair without becoming the cautionary tale.
What a Botched DIY Garage Door Repair Costs in Dallas
We’ve been doing garage door repair in Dallas since 2004, and we’ve cleaned up enough DIY disasters to know exactly what they cost. The cheapest ones are just embarrassing. The expensive ones involve a trip to the ER and a repair bill stacked on top of the medical bill. Here’s what we actually see, based on real jobs in this market.
The stripped winding cone: $80 to $140 in parts, plus the service call. A homeowner watches a spring video, inserts the winding bar, and doesn’t seat it fully in the cone. The bar slips, rounds out the hex opening, and now the new spring can’t be wound. The spring is ruined. In northeast Dallas and Richardson, a stripped cone on a standard 0.225 wire spring means replacing that spring before the job even starts.
The bent track: $150 to $400 depending on the door. Someone tries to straighten a track with a hammer, or the door comes off the track and the homeowner tries to “walk it back on” without releasing the spring tension. The track kinks permanently. On a standard single door from Clopay or Amarr, you’re looking at replacing a section of track, and if the roller shanks got chewed up in the process, the rollers go too.
The cracked panel from a dropped door: $250 to $600 per panel. A spring snaps while the door is half open, or a cable is removed with the door up, and the door free-falls. The bottom panel hits the concrete and the steel skin splits. That panel has to be replaced, and on older doors the color is often discontinued, which means looking at a full door replacement if you want it to match.
The opener motor burned out from running against a broken spring: $350 to $600 for a new opener. This one happens constantly in Dallas. The spring breaks, the opener doesn’t know, and it keeps trying to lift a 200-pound door using a motor designed to move a balanced door. The motor overheats, the gear strips, and the homeowner now needs a spring and an opener. That’s the cost of not catching a broken spring early.
The emergency room visit: the real wild card. We can’t put a number on this one. We’ve met homeowners in Garland who were lucky enough to walk away with stitches, and we’ve heard about people in Fort Worth who weren’t. In our experience, the folks who try to save $150 on a spring replacement are the same folks who end up spending $1,500 on a hand surgeon. The math never works out.
When you add it up, the DIY route on a dangerous task doesn’t save money. It shifts the cost from a predictable invoice to an unpredictable sequence of events. And in the Dallas market, where summer heat already shortens spring life and most homes have attached garages, the odds are stacked against a casual repair attempt.
The Tool and Knowledge Threshold for Each DIY Task
Watching a video is not the same as being prepared. Here’s the specific tool and knowledge requirement for each DIY-safe task we listed earlier, so you can be honest with yourself about whether you’re set up for it or better off calling.
Lubrication. Tools: step ladder, can of garage door lubricant. Knowledge: you need to know the difference between a hinge and a roller, and you need to know not to lubricate the track itself. The track stays dry. Lubricant on the track makes the rollers slip instead of roll, and the door gets noisy fast. This task is a 2 out of 10 on the difficulty scale.
Weatherstripping replacement. Tools: flathead screwdriver, utility knife, tape measure. Knowledge: you need to measure the width of the existing strip and order the same width. It comes in 3-inch, 4-inch, and 6-inch options for different door profiles. A wrong-sized strip will leave a gap or bind in the retainer. Difficulty: 2 out of 10.
Sensor alignment. Tools: small level or a string line, wrench for the wing nut. Knowledge: you need to know that a blinking red light on the sensor means misalignment and a blinking green light means obstruction or wiring. If you can’t get both lights solid after 15 minutes of adjusting, stop and call. The next step involves a multimeter and the opener’s logic board, and that’s no longer DIY. Difficulty: 3 out of 10.
Remote battery and reprogramming. Tools: small Phillips screwdriver, the opener manual. Knowledge: you need to find the Learn button, which is usually on the back or side of the motor unit, and you need to know the difference between reprogramming a remote and erasing all codes. Hold the Learn button too long and you’ll wipe the memory, which means reprogramming every remote and keypad. Difficulty: 2 out of 10 if you read the manual, 7 out of 10 if you wing it.
Bolt tightening. Tools: socket set, open-end wrench set. Knowledge: you need to know the difference between snugging a bolt and stripping a lag screw. If a lag screw spins without tightening, the wood behind it is rotten and the fix is no longer a bolt-tightening job. That becomes a bracket repositioning job, which is professional work. Difficulty: 2 out of 10.
The honest test for any of these tasks: if you’re halfway through and realize you’re missing the tool or the knowledge, stop. A half-finished DIY repair is always cheaper for us to fix than a fully finished bad one.
Dallas Climate and Your Garage Door: What the Heat Does
Dallas does something to garage doors that most of the country doesn’t deal with, and it happens every summer. The heat isn’t just an inconvenience for you. It’s a mechanical stressor on every component in your door system.
Springs die faster in Dallas. Torsion springs are rated for a certain number of cycles, typically 10,000 for standard springs or 25,000 for high-cycle springs. A cycle is one full open and close. But heat accelerates metal fatigue, and Dallas regularly hits 100 degrees or more from June through September. The inside of an attached garage can reach 130 degrees when the sun hits the door all afternoon. That heat, combined with the daily cycling of a door that gets used five or six times a day in a busy household, kills springs in three to five years instead of the seven to ten you’d expect in a milder climate. When a spring breaks in Dallas, it usually sounds like a gunshot, and it almost always happens on a Monday morning when the door is going up for the first time after a hot weekend.
Heat warps panels and breaks down seals. Direct sun on a west-facing garage door will bake the steel panel and fade the paint, and the expanding and contracting of the panel can cause it to bow slightly. That’s why we recommend light-colored doors for west-facing garages in Dallas: they absorb less heat and warp less. The vinyl weatherstripping along the sides and bottom also dries out and cracks faster in dry Texas heat, which is why we recommend replacing it every two to three years instead of the five years you’d get in a humid climate.
Openers overheat in summer. The motor in your opener generates heat every time it runs, and in a 120-degree garage, it can’t shed that heat effectively. The thermal overload protection will shut the motor down mid-cycle, and if it happens repeatedly, the motor eventually fails. Keeping the opener’s vents clear of dust and making sure the door is balanced (so the motor isn’t working harder than it should be) are the two things that extend opener life in Dallas. A balanced door should stay put when you lift it to waist height and let go. If it drops or rises, the springs are wrong and the opener is straining. That’s worth checking before August.
None of this changes the DIY vs professional split, but it does mean Dallas homeowners should expect to replace springs and weatherstripping more often than the national averages suggest. And it means the stakes for getting a spring replacement right are higher, because the next failure is closer on the calendar than it would be somewhere cooler.
Common Mistakes to Avoid
- Using WD-40 on any garage door part. WD-40 is a solvent, not a lubricant. It cleans off grease and then evaporates, leaving the part drier than before. Use white lithium grease or a dedicated garage door spray instead. This mistake is so common in Dallas that we can spot a WD-40 user just by the squeak pattern.
- Disconnecting the opener from a door with a broken spring and opening it manually. Without a working spring, that door weighs 150 to 400 pounds. When it falls, it falls fast. If your spring is broken, leave the door down and call us.
- Watching one video and assuming you understand the whole job. Spring winding videos are often filmed on new doors in clean garages with proper lighting, and they rarely show what happens on a 20-year-old door with rusted hardware and misaligned tracks. What looks simple in the video is not simple on your door.
- Ignoring a noisy door until it stops working. A garage door that squeals, pops, or grinds is talking to you. In Dallas, where springs and rollers wear fast, that noise is usually an early warning that something is about to fail. A $120 roller replacement today is cheaper than a $400 spring and opener repair next month.
- Replacing the opener when the real problem is the spring. If the door is heavy to lift by hand, the opener will struggle no matter how new it is. The spring does the lifting; the opener just guides it. In our experience, about a third of the “broken openers” we’re called to in Dallas are perfectly fine openers attached to broken or tired springs.
- Buying cheap replacement springs online and installing them yourself. The springs you buy on a discount site often aren’t rated for the cycle count of the originals, and if you get the wrong size or wire gauge, the spring won’t balance the door. That puts extra strain on the opener and shortens the life of the new spring. You don’t save money; you just postpone the expense.
- Working on a door without releasing the opener first. If you’re doing anything to a door with the opener connected, unplug the opener or use the release cord first. A door that decides to close on its own while your hands are on the track is no joke.
When to Call a Professional
Call a professional the moment you see a broken or stretched spring, a frayed cable, a door that’s come off its tracks, or a panel that’s dented badly enough to catch on the frame. Call if your door is heavy to lift by hand, if it slams when you lower it, or if the opener makes a straining noise every time it runs. Call if you’ve already started a DIY job and realized you’re in over your head. There’s no shame in that. We’ve fixed dozens of half-finished homeowner projects, and we’d rather fix them at the start than at the ER. Garage door repair in Dallas doesn’t have to be expensive, and it doesn’t have to be dangerous. Otto’s Garage Door offers free estimates in Dallas, so call (972) 736-9689 if you’re not sure whether your job is a Saturday project or a service call. Otto will tell you straight, and the name on the van is the name on the invoice.
Frequently Asked Questions
DIY-safe tasks like lubrication and weatherstripping run $20 to $40 in materials, while calling a pro for those same tasks adds a $75 to $125 trip fee for labor in most of Dallas. For dangerous tasks like spring replacement, the DIY cost is unpredictable: you might spend $80 on parts and succeed, or you might spend $80 on parts, strip the cone, and pay a pro $250 to $350 anyway. Spring replacement from Otto’s Garage Door runs $180 to $340 in Dallas, and that’s the number you should compare against the risk. Call (972) 736-9689 for an exact quote, estimates are free.
No, and you shouldn’t try. Torsion springs require winding bars, a proper socket set, and an understanding of how to release tension in a controlled sequence. A 150-pound spring under torque is not the place to improvise. This is the one garage door task where the “just figure it out” approach genuinely puts you in the ER. Call a professional.
With Otto’s Garage Door, no. The price Otto quotes on the phone is the price he holds when he arrives. That’s the whole point of his Otto’s Garage Door home guarantee: quoted before the visit, kept at the door, written on the invoice. If the job turns out to be bigger than the quote, Otto tells you before he starts and gets your agreement in writing first.
Yes, and it’s one of the most common DIY fixes we talk homeowners through on the phone in Dallas. Aim the beam, check that both sensor lights are solid, and test the door. If the lights won’t hold steady after 15 minutes of adjusting, the problem is wiring or the logic board, and that’s a professional repair. Call us and we’ll walk you through the first steps at no charge.
Twice a year, minimum. The dry heat and dust in Dallas strip lubrication from hinges and rollers faster than in most climates, and an unlubricated door puts extra strain on the opener. We recommend doing it every spring and fall, using a dedicated garage door lubricant, never WD-40.
Otto’s crew carries the common parts: torsion springs in multiple sizes, extension springs, cables, rollers, hinges, brackets, sensors, and the usual failure points on openers like Genie, LiftMaster, and Chamberlain. For garage door opener repairs in Dallas, we stock the popular models and can usually fix the issue in one visit. If we need a special-order panel for a Clopay or Amarr door, we’ll tell you upfront and schedule the second trip before we leave the first one.
That depends on the age of the door, the condition of the panels, and what’s broken. A 25-year-old door with rusted tracks, a sagging frame, and a burnt-out opener is a replacement candidate. A 10-year-old door with a broken spring is a repair. If you’re weighing garage door installation in Dallas, call Otto and he’ll give you an honest read on whether you should patch the old door or start fresh. He’ll show you the numbers for both and let you decide without any pressure.
The Bottom Line
Here’s the whole guide in one paragraph. Lubricate, replace weatherstripping, align sensors, change batteries, and tighten bolts yourself. Those jobs are safe, cheap, and genuinely satisfying to do. Never touch torsion springs, cables, tracks, or panels. Those jobs can hurt you and will probably cost more to fix after you’ve tried than they would have cost to do right the first time. Prep work, clear space, and honest measurements lower every professional bill, so do those before you call. When you need a pro in Dallas, call (972) 736-9689 and you’ll get Otto or someone from his crew on the line, a straight answer, and a price that won’t change at the door. That’s how it’s worked since 2004, and that’s how it’s going to keep working.
Written by Otto Reinhardt, Owner at Otto’s Garage Door, serving Dallas since 2004.