
Last updated September 10, 2026
Full 25-point door and opener safety check with every visit - springs, cables, rollers, tracks, and your LiftMaster or Chamberlain opener included
You get a price before we start. It does not change when the truck arrives.
 Before
 After
After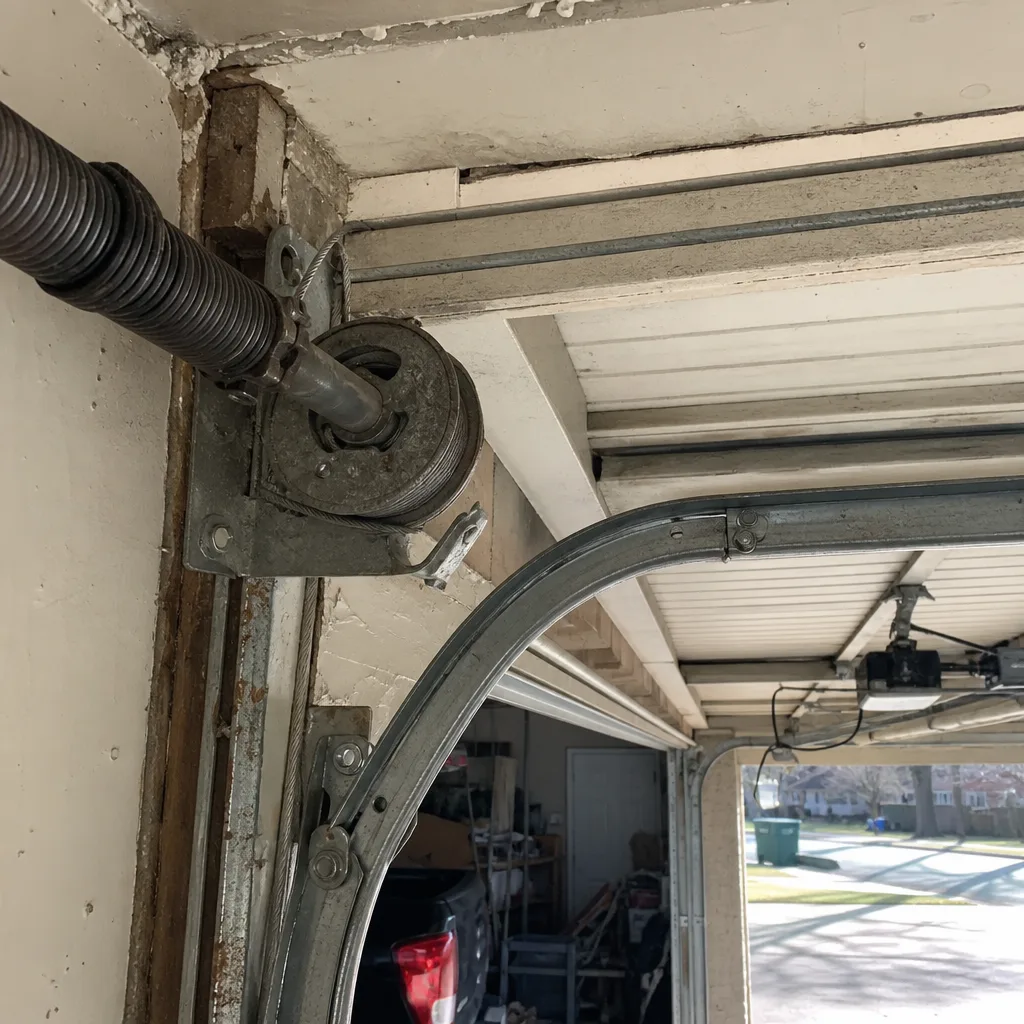 Before
 After
After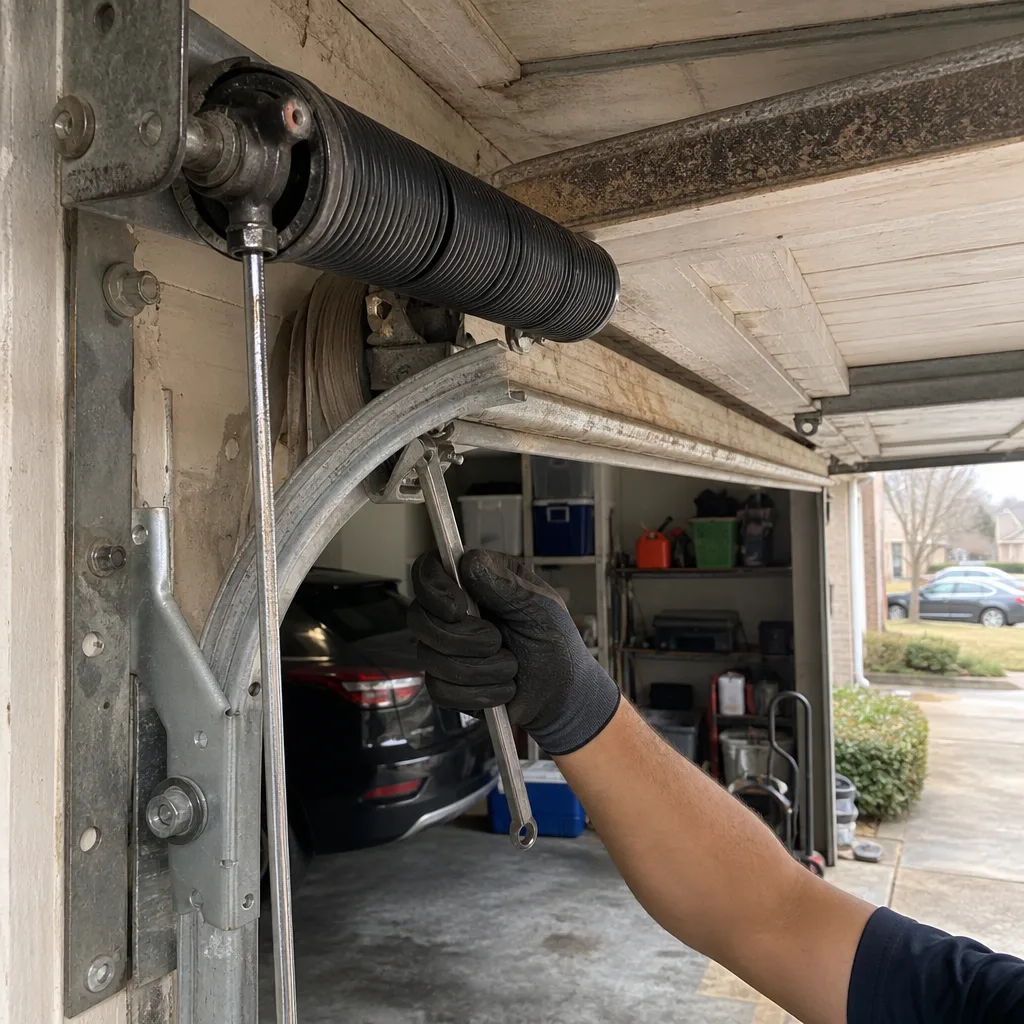 Before
 After
AfterGarage Door Repair Maintenance Checklist for Dallas Homeowners
Otto keeps a notebook. After twenty years of repair calls across Dallas County, the same six things show up broken again and again - and five of them are things a homeowner could have caught in ten minutes with a flashlight and a wrench, before the repair bill ever landed. The generic maintenance checklists floating around the internet miss almost every failure point specific to this city, because they weren’t written by someone who has pulled into hundreds of Dallas driveways and seen what actually fails here. This guide is different: it’s built from the notebook. It covers what to check after a hailstorm wrecks your neighborhood in Plano, what happens to your springs after a week of 105-degree heat in Garland, and how to spot a fraying cable before it snaps and sends a 200-pound door crashing down in Oak Cliff.
You’ll learn the six things that break most often, the exact products that survive a Texas summer, the one safety check most people skip because nobody ever told them where to look, and the 60-second test that tells you how much life your springs have left. You’ll also learn which tasks are genuinely safe to do yourself and which ones need Garage Door Repair services with hands that know what happens when a torsion spring lets go under load.
Quick Answer
The garage door maintenance checklist that actually works in Dallas boils down to six tasks: lubricate the rollers and hinges twice a year with silicone spray (never white lithium grease, which melts out in Texas summers), run a 60-second balance test each spring and fall, inspect the cables for fraying at the pulley wheels with a flashlight every three months, check the photo-eye sensors after every heavy rain or hail storm, torque the track bolts once a year, and run the auto-reverse safety test monthly. Most Dallas homeowners can handle the first three in under thirty minutes total per year. What they should not handle themselves is anything involving the torsion springs, the cables under tension, or the bottom bracket - those are the parts that send people to the emergency room when DIY goes wrong.
Table of Contents
- The Notebook: What Actually Breaks in Dallas
- Season-Specific Tasks for Dallas Weather
- The Lubrication Schedule That Survives Texas Heat
- How to Inspect Cables for Fraying (The Check Everyone Skips)
- The 60-Second Balance Test
- DIY vs. Professional: Where to Draw the Line
- Common Mistakes to Avoid
- When to Call a Professional
- Frequently Asked Questions
The Notebook: What Actually Breaks in Dallas
After two decades of garage door repair in Dallas, Otto’s notebook reads like a weather almanac crossed with a materials science lab. The same six failures appear over and over, and five of them are predictable enough that a homeowner who knows what to look for can catch the problem before it strands a car in the garage or tears a door off its track.
Here’s what the notebook says, in order of frequency:
- Dry rollers and hinges. North Texas dust is fine and relentless. It works its way into the roller bearings, mixes with old grease, and turns into a grinding paste that eats the metal. By the time a door starts sounding like it’s dragging a chain across concrete, the rollers are already wearing unevenly and transferring that wear to the tracks.
- Spring cycle exhaustion. A standard torsion spring is rated for roughly 10,000 cycles. In a Dallas household where the door goes up and down four times a day, that’s about seven years. Otto can count spring cycles the way you count tire miles - he’ll tell you what’s left on yours. Most homeowners never know until the spring snaps and the door won’t move at all.
- Cable fraying at the pulley. This is the one that keeps Otto up at night. A fraying cable gives warning signs for weeks before it fails - a few broken strands visible at the pulley wheel, a door that shudders on the way down, a slight unevenness at the bottom edge. Miss it and the cable snaps, the full weight of the door transfers to one side, and the door can come off the track entirely.
- Photo-eye misalignment after storms. A hailstorm or a hard freeze will shift the sensor brackets just enough that the invisible beam breaks and the opener refuses to close. It’s not the opener’s fault. The problem is almost always alignment, and it’s a two-minute fix with a screwdriver and a level.
- Loose track bolts. Every cycle sends vibration through the tracks. Over a year, those vibrations back out the bolts that hold the vertical tracks to the frame. A track that’s shifted a quarter inch is a track that will eventually bind a roller and bend a section.
- Opener gear wear from heat. Dallas summers bake the grease out of the opener’s internal gear. A LiftMaster or Chamberlain opener that lived in a Michigan garage for fifteen years might die at eight in Dallas, simply because the heat destroyed the lubrication. The plastic gears strip, and the opener whines but won’t move the door.
Five of those six are visible or audible to a homeowner who knows where to look. That’s the whole point of this checklist: it’s not about making you a technician. It’s about showing you the specific places on a Dallas garage door where trouble announces itself before it becomes an emergency.
Season-Specific Tasks for Dallas Weather
Dallas weather is not kind to garage doors. The city swings from 105-degree August afternoons to hard January freezes, with hail in between that can tear through a neighborhood like buckshot. A maintenance schedule that works in Seattle or Chicago will miss the specific damage patterns here. Here’s what the notebook says about each season.
After a Hail Storm
Hail in Dallas isn’t a rare event - it’s a spring and early summer routine in Collin and Dallas counties. The damage it does to garage doors is easy to spot when you know what to look for, and easy to miss when you’re focused on the roof and the car.
- Walk the door panel with a flashlight held at a raking angle. Hail dents on a metal garage door show up as small, shallow depressions that catch the light differently than the surrounding panel. They’re cosmetic in most cases, but a deep dent that breaks the panel’s paint seal will rust within a season.
- Check the weatherstripping along the bottom edge. Hail bouncing off concrete can knock the rubber strip loose or tear it. A torn bottom seal lets in dust, water, and Austin-sized crickets.
- Verify the photo-eye sensors are still aligned. The shockwave from a close lightning strike or the vibration of hail hammering the wall can shift the sensor brackets a few degrees, which is enough to break the beam and make the door refuse to close.
- Run the balance test. A hard enough impact can disturb the tension in the springs, especially if the door took a direct hit while opening or closing. The test is described in the section below, and it takes sixty seconds.
If a hail storm put visual dents in the panels and you’re wondering whether a new door makes more sense than a repair, the garage door installation page in Dallas walks through the actual cost tradeoffs. The short version: if the dents are cosmetic and the door still seals and balances, fix the seal and keep the door. If the panels are compromised enough to affect the door’s structural rigidity, you’re looking at panel replacement rather than a full door in most cases.
After a Heat Wave Above 100°F
Dallas routinely sees stretches of 100-plus days in July and August, sometimes for two weeks at a stretch. The heat does two specific things to a garage door system:
- It bakes the oil out of the opener’s internal gears. A person who parks in the garage adds another layer: the car’s engine heat raises the ambient temperature inside the closed garage another ten to fifteen degrees above outside air. An opener that’s five years old in Dallas has seen the equivalent heat stress of a ten-year-old opener up north. Listen for a grinding or whining sound when the opener runs - that’s stripped plastic gear teeth, and the fix is a gear kit, not a new opener in most cases.
- It expands the metal in the tracks and the door panels. A door that was perfectly balanced in April can bind in August if the track bolts are tight and the metal has nowhere to go. The door will shudder on the way up, hesitate, and then jerk forward. Loosening and re-torquing the track bolts - just snug, not cranked - gives the metal room to expand without sacrificing alignment.
After a heat wave, the single most useful thing you can do is run the door up and down twice while watching and listening. If it’s louder than normal or the movement isn’t smooth, something’s binding, and bindage in a metal track under expansion is exactly the kind of problem that doesn’t go away on its own.
After a Hard Freeze
Dallas gets more hard freezes than people expect, and the 2021 February freeze taught every homeowner in the city what happens when infrastructure designed for heat meets a week of teens. Garage doors took damage that week, and the same patterns repeat whenever the temperature drops into the twenties for more than a night.
- Check the bottom seal for brittleness. Rubber that’s been through a Texas summer and then a hard freeze can crack and split. A cracked seal lets in cold air in the winter and dust in the summer, and it’s a five-dollar fix if you catch it before the metal strip behind it rusts.
- Run the door manually once. Cold thickens the grease in the rollers and hinges. If the door is noticeably harder to lift by hand in freezing weather, the lubrication has gone stiff and needs to be cleaned off and replaced with a product that handles temperature swings - more on that in the lubrication section below.
- Watch for ice on the track. A garage that’s attached to the house and stays above freezing inside can still have condensation on the tracks that freezes overnight. If the door fights the opener on the way up after a freeze, check for ice on the inside track walls before forcing it. Forcing a frozen door is how rollers get yanked out of their seats and sections get bent.
The freeze checklist is short, but it matters. A door that struggles through every winter has a shortened life, and the failure arrives without warning because the stresses accumulate in the springs and cables, not in the visible parts.
The Lubrication Schedule That Survives Texas Heat
The most common lubrication mistake Otto sees in Dallas garages isn’t that homeowners skip it - it’s that they use the wrong product. White lithium grease is the default choice on hardware store shelves, and in a Texas summer it’s a liability. The grease melts out of its soap base above about 250 degrees Fahrenheit in the best case, and in a Dallas garage in August, the interior surface temperature of the door and track components regularly hits 150 to 180 degrees under direct sun. The grease thins, drips, and leaves behind a sticky residue that collects dust and turns into grinding compound within a month.
What works in Dallas is a dry silicone spray or a PTFE-based lubricant. These products go on wet and dry to a film that doesn’t attract dust and doesn’t break down under the heat a garage door sees in this climate. Otto’s crew uses silicone spray on rollers, hinges, and the torsion spring coil itself. The track does not get lubricated - oiling a track is a mistake that causes the rollers to slide instead of roll, and a sliding roller is a roller that wears flat spots into the metal.
Here’s the schedule that matches the Dallas climate:
- Every six months: Apply silicone spray to the roller bearings (the little wheels inside the track), the hinge pivots between each panel, and the torsion spring above the door. Two seconds of spray per point is enough; you’re coating, not soaking.
- Every twelve months: Spray the opener’s chain or belt, if it has one. A chain gets a light coat of the same silicone; a belt gets nothing, because a lubricated belt slips and strips gears.
- Every time you hear a squeak: Don’t wait for the six-month mark. A squeak is metal-on-metal wear. Find the squeak, lubricate that specific point, and mark the date in the calendar.
- Never: Grease the track, grease the photo-eye lenses, oil the weatherstripping, or use WD-40 as a substitute. WD-40 is a solvent, not a lubricant - it cleans, then leaves the metal drier than it found it.
One more product note that’s worth the ink: the torsion spring needs a thin coat of silicone along its length at least twice a year. A dry spring coils against itself under tension, and the friction between coils wears the metal. That wear is invisible and cumulative, and it’s one of the reasons a spring rated for 10,000 cycles might fail at 7,000 in Dallas heat.
How to Inspect Cables for Fraying (The Check Everyone Skips)
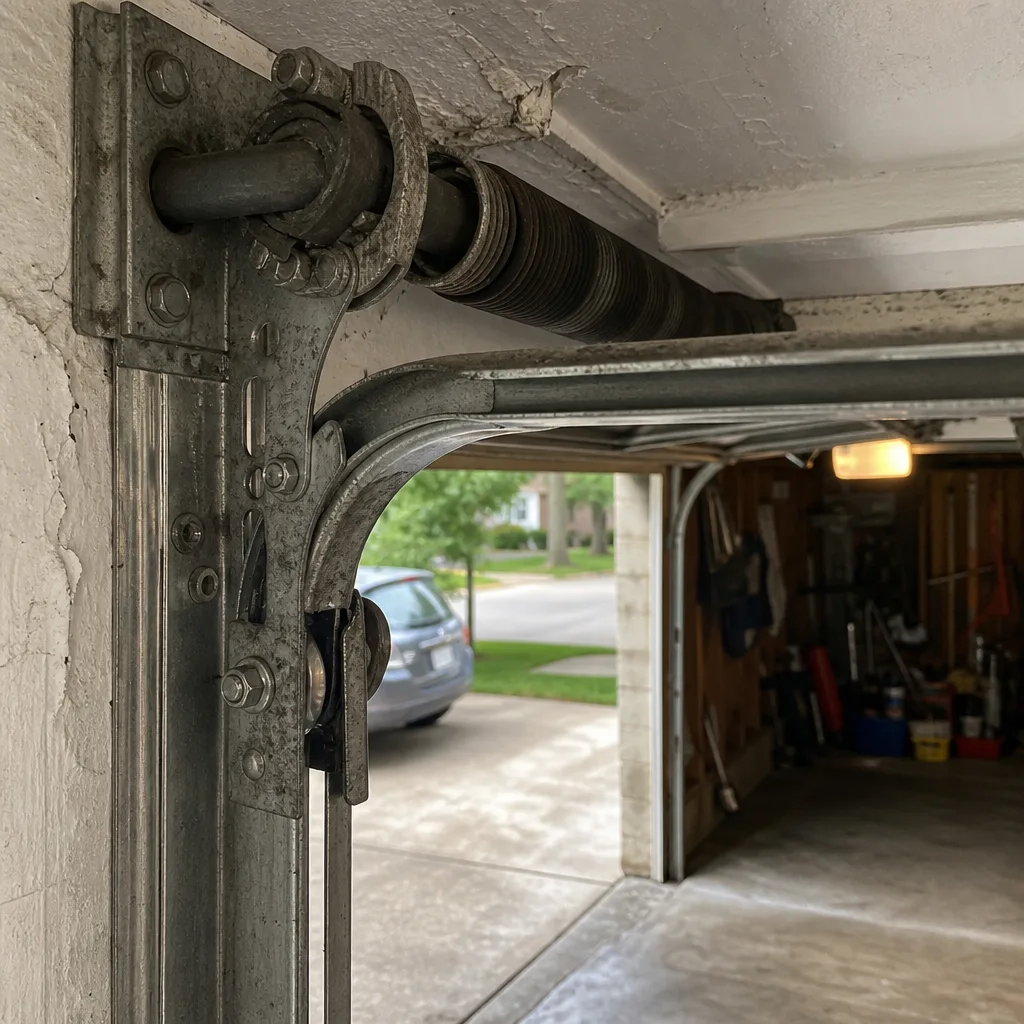
The cables on a garage door are the two steel wires that run from the bottom corners of the door up to the pulley wheels near the top of the track, and then to the torsion spring assembly. They’re under enormous tension - the combined weight of a 16-foot steel door is hanging from those two cables, and when one fails, the other cannot hold the door alone. The door twists, jams, and in the worst cases comes off the track. This is the safety check most homeowners skip because nobody ever told them where or how to look.
Here’s the exact inspection method Otto uses, and you can do it in five minutes with a flashlight:
- Close the door completely. The cables should be taut but not guitar-string tight. If one cable is visibly looser than the other with the door closed, you’ve already found a problem - the door is unbalanced, and the springs need attention.
- Stand at the side of the door with a flashlight and aim the beam along the cable at a low angle. This is the raking-light trick that makes frayed strands stand out. A healthy cable is a smooth, even twist of steel. A fraying cable has small, broken strands - they look like tiny needles sticking up from the main body of the wire, and they catch the raking light and glint.
- Inspect the exact point where the cable wraps onto the pulley wheel. This is the flex point, and it’s where fraying almost always starts. Open the door halfway and look at that bend. Run the door up and down slowly, watching the cable as it moves onto and off the pulley. If you see a broken strand, a flat spot, or a kink, that cable is failing.
- Look at the bottom bracket where the cable attaches to the door. Rust here means the cable’s anchor is weakening, and a rusted bottom bracket is the second-most-common failure point after the pulley.
- Check both sides the same way. A cable that’s fraying on one side puts extra load on the other, which accelerates wear on the good side even if it looks fine today.
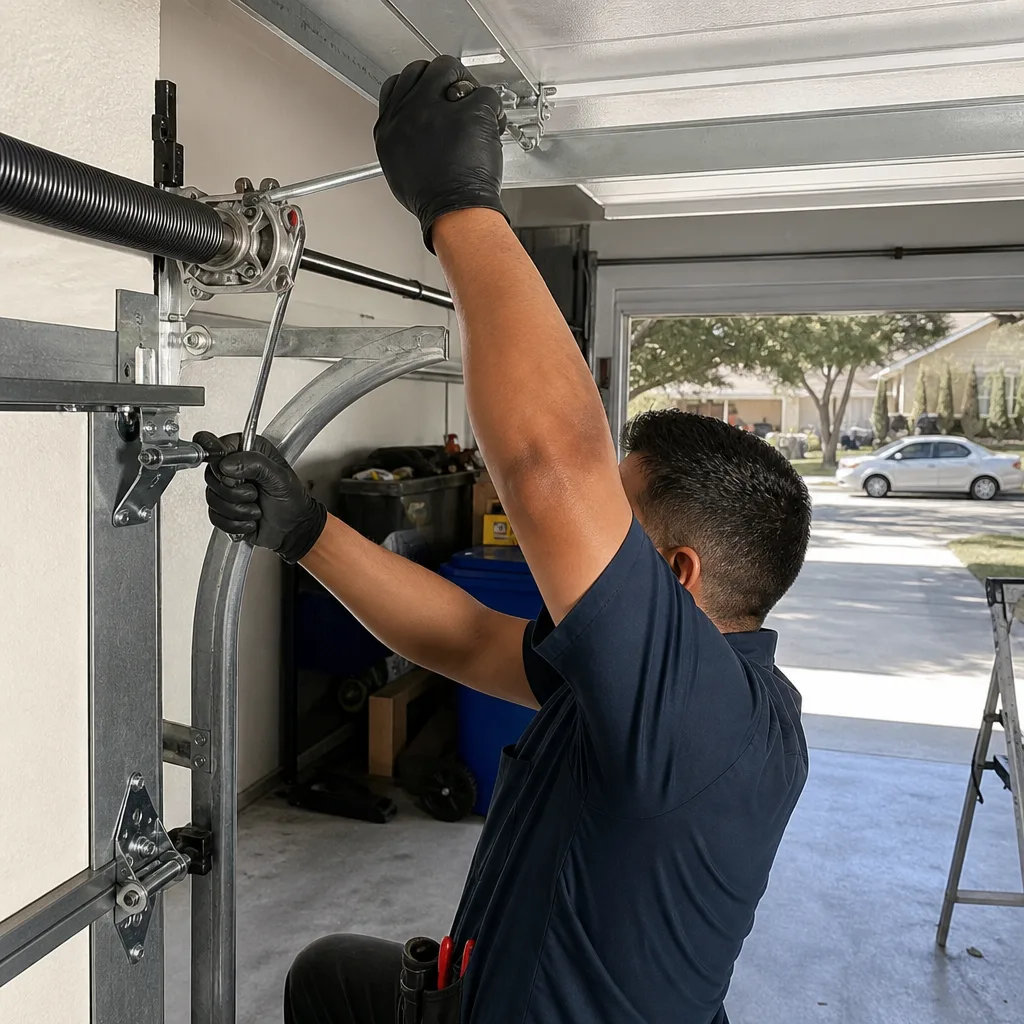
Here’s the important safety line: if you find fraying, do not try to replace the cable yourself. The torsion spring holds enough stored energy to fire a metal cable through a garage wall, and releasing that tension without the right tools and the right sequence is how people get hurt. Otto will say it straight: a cable replacement is a fifty-dollar part and a fifteen-minute job for someone who knows how to de-tension the spring safely. That person is not a homeowner with a YouTube video and a socket set. Call (972) 736-9689 and let Otto’s crew handle it.
The 60-Second Balance Test
A garage door that’s properly balanced will hold itself halfway open with almost no effort from the opener. An unbalanced door makes the opener work harder on every single cycle, and in Dallas heat, that extra work burns through opener gears and spring cycles faster than anything else the climate can do. Otto runs this test on every service call, and he tells every customer to run it themselves twice a year - once in the spring after the weather warms up, and once in the fall before the freezes arrive.
Here’s the test, step by step:
- Close the door and pull the emergency release cord. This is the red handle hanging from the opener rail. Pulling it disengages the door from the opener so you’re testing the door alone, not the opener’s electronics.
- Lift the door manually to the halfway point. For a standard 7-foot door, that’s about waist to chest height.
- Let go. Watch what happens. A balanced door stays roughly where you left it, maybe drifting an inch or two before settling. A door that drops toward the floor or shoots upward has a spring problem.
- Test at two more positions. Lift it to three-quarters open and let go. Then lower it to a quarter open and let go. The door should hold at all three points. A door that holds at the halfway point but drifts at the quarter and three-quarter points has worn springs that are losing tension unevenly.
What the result means: a door that won’t hold position is the spring assembly telling you it’s tired. The fix is spring replacement - not spring repair - because a spring that’s lost enough tension to fail the balance test is a spring that’s near the end of its cycle life. Otto counts spring cycles the way you count tire miles, and when the balance test fails, the springs are telling you they’re past their rated mileage. Replacing them now costs a few hundred dollars. Waiting until one snaps while the door is half open costs that same replacement plus whatever the falling door takes with it - a bent track, a smashed car bumper, or worse.
After the test, reconnect the opener by pressing the open button with the door down, or by re-engaging the release cord and running the opener through one cycle. The opener will grab the door and lock back in.
DIY vs. Professional: Where to Draw the Line
Most of the maintenance in this checklist is genuinely safe for a homeowner who can climb a step ladder and hold a flashlight. But there’s a line, and crossing it without training can put you in an emergency room. Here’s the plain version of what belongs on each side of that line, and the actual safety reason behind each.
Safe for DIY (with basic tools and attention)
- Lubricating rollers, hinges, and springs. No tension is released, no load is lifted. This is the lowest-risk maintenance task on the list.
- Checking and tightening track bolts. A wrench and five minutes. The bolt that’s loose is visible and obvious when you look for it.
- Testing the auto-reverse function. Place a 2×4 flat on the floor under the door’s path and close the door on it. The door should reverse within two seconds of contact. If it doesn’t, adjust the opener’s force sensitivity dial or call a pro.
- Aligning the photo-eye sensors. There’s a small LED on each sensor. When they’re aligned, both lights are solid. When one blinks or goes out, the beam is broken. Loosen the bracket screw, adjust the sensor until the light goes solid, tighten.
- Replacing the bottom weatherstripping. Pull out the old strip, slide in the new. Some doors take a snap-in strip, some take an adhesive. Neither is complicated.
Leave to a licensed technician
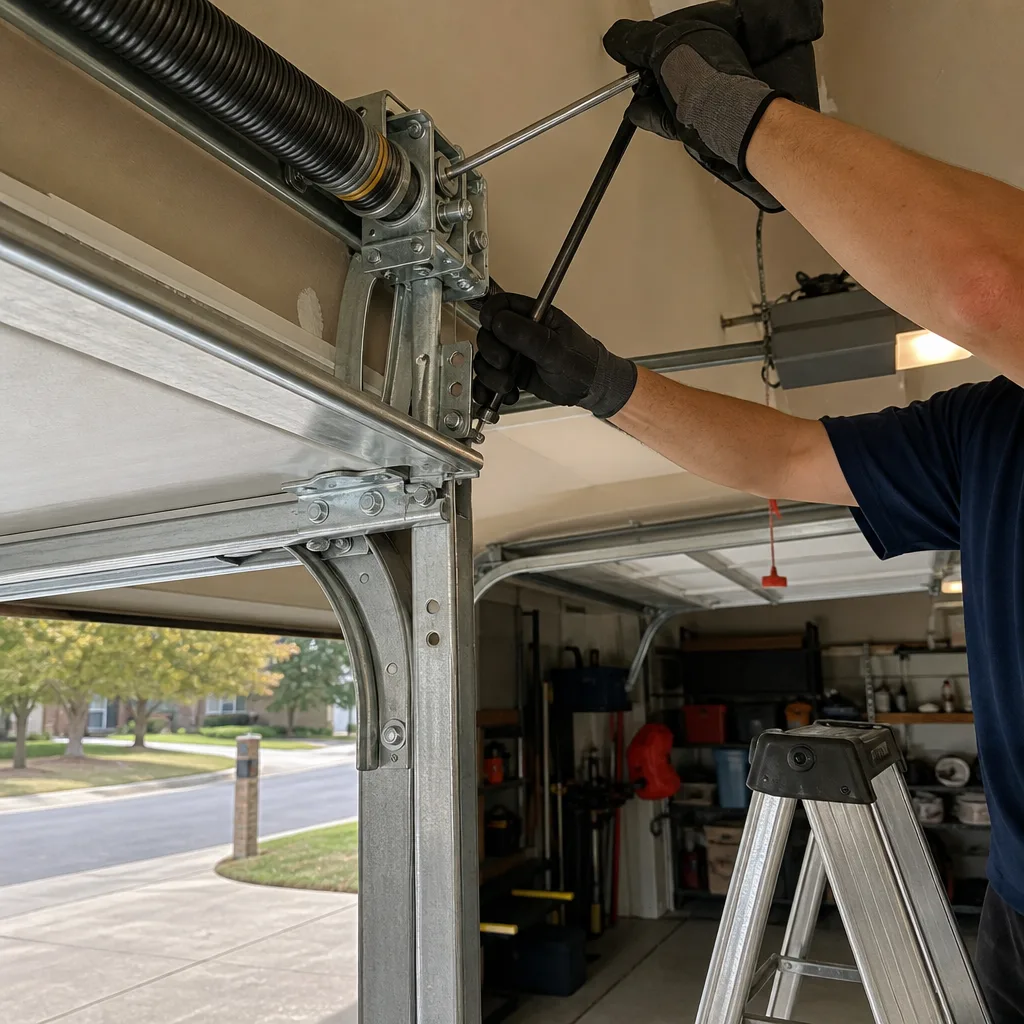
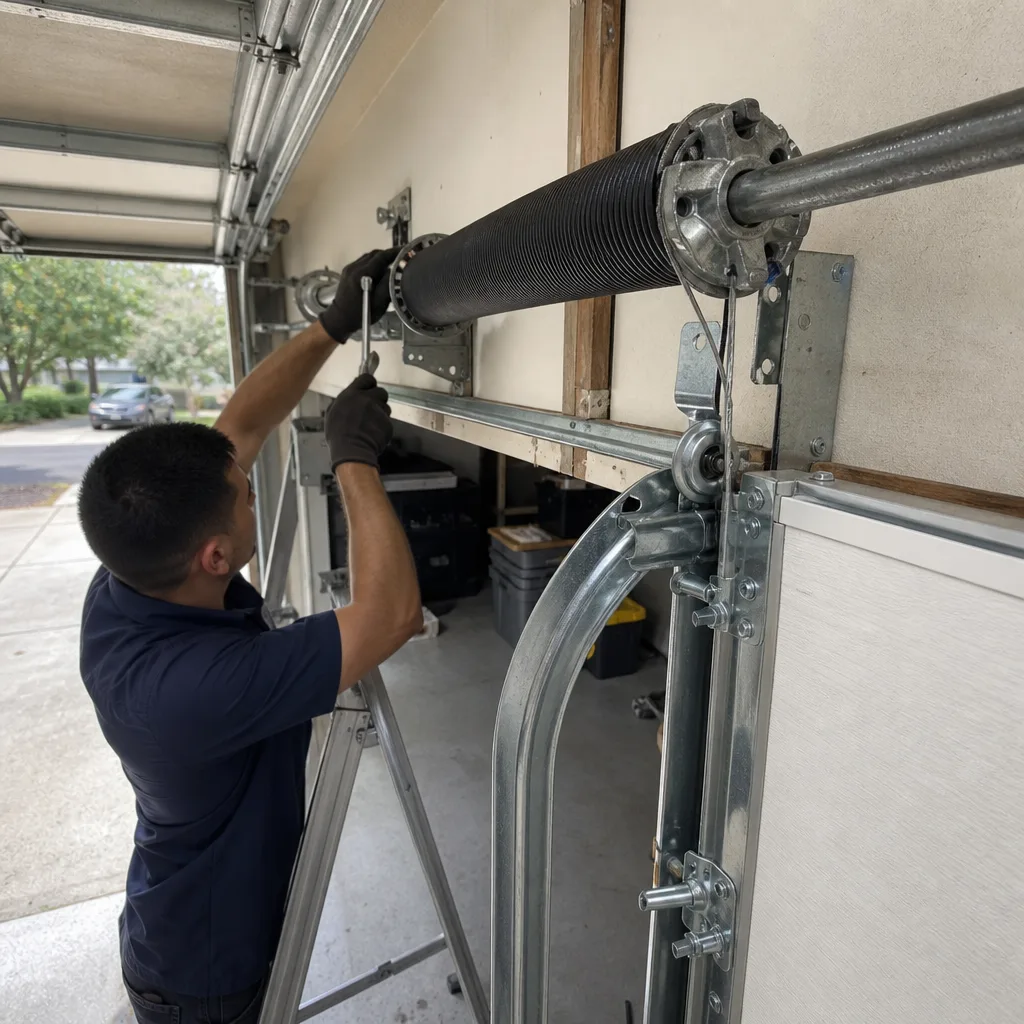
- Anything involving the torsion spring. The spring stores enough energy to move a 200-pound door effortlessly. When it breaks under tension, it releases that energy instantly. The winding bars slip, the spring snaps, and a hand or face in the wrong place takes the hit. Otto has seen the medical bills from homeowners who tried it. Don’t.
- Cable replacement under tension. The cable is the other end of the same stored energy. De-tensioning the spring is a required first step, and doing it wrong is the fastest way to a catastrophic failure. The cable itself, under tension, can cut to the bone when it whips.
- Track realignment or panel straightening. A bent track puts the whole door under unbalanced load. Straightening it looks simple - beat it with a hammer until it’s straight - but a track that’s out of alignment after a hit usually means the door’s geometry is compromised, and forcing it back creates stress that will show up later as a cracked weld or a thrown roller.
- Opener internal repairs beyond gear replacement. If the opener is straining, the problem is almost never the opener. When it is the opener - a stripped gear, a burned-out motor, a circuit board that’s failed - the work involves disassembly under the door’s weight, and a mistake means the door drops. A Genie or Chamberlain opener is a machine that holds your car in the air. The repair is not a YouTube project.
The line isn’t about keeping you from saving money. It’s about the difference between a repair and a rescue. Otto’s crew spends most days fixing what broke on its own. Some days they fix what a homeowner’s good intentions made worse to the tune of three times the original repair cost. The garage door opener page in Dallas covers the symptoms of a failing opener versus a door that’s actually causing the strain - knowing which one you’re dealing with is the first step in knowing which side of the line you’re on.
Common Mistakes to Avoid
These are the mistakes Otto sees most often on Dallas service calls, and each one costs money. Avoiding them is the difference between a door that runs for fifteen years and a door that’s on its third set of rollers and second opener in the same stretch.
- Using white lithium grease on everything. It melts out in Dallas heat, collects dust, and grinds the exact parts it was supposed to protect. Use silicone spray instead.
- Oiling the track. The rollers are supposed to roll, not slide. Oiling the track makes them slide, which wears flat spots on the roller wheels, which then bounce and chatter and chew up the track surface.
- Ignoring a slow imbalance because “it still opens.” A door that’s five pounds heavier on one side puts that extra load on every cycle. The spring wears unevenly, the cables stretch unevenly, and the failure, when it comes, is sudden and expensive.
- Forcing a frozen door after a Dallas freeze. The ice will give way before the door does, and the part that gives is usually a roller snapping out of its bracket or a section bending at the hinge point. Let the ice melt or hit it with a hair dryer, then run the door.
- Assuming the opener is the problem when the door struggles. If the opener is straining, the problem is almost never the opener. It’s the door fighting the opener because a spring is tired or a roller is seized. Fix the door and the opener stops straining.
- Buying the cheapest springs available online. Bargain springs are the same price as quality ones when you add in the second replacement in three years and the service call for the door that came off the track when the first bargain spring snapped early in cycle life.
- Never running the auto-reverse test. The auto-reverse mechanism is a safety device, not a convenience feature. In Dallas, where doors run more frequently than in colder climates, the force sensitivity drifts out of adjustment faster. A door that doesn’t reverse on contact is a door that would close on a child or a pet. The test takes thirty seconds and should be run monthly.
When to Call a Professional
You’re at the right point to call a pro when any of these show up: the door fails the balance test and won’t hold position, the cables show any sign of fraying or the bottom brackets are rusting, the door makes a grinding sound that lubrication doesn’t fix, the opener runs but the door doesn’t move, or the door has been hit hard enough to bend a panel or a track. These are the moments where waiting makes the repair worse, and the repair is never something to learn on the fly with the door suspended overhead.
Otto’s Garage Door offers free estimates in Dallas - call (972) 736-9689. A live person answers, often Otto himself, and the price quoted on the phone is the price written on the invoice. No dispatch center, no call queue, and no surprise line item when the truck pulls up. If you’re weighing whether to repair or replace, the new garage door installation page has the numbers that matter. If you just want a second opinion on a written estimate someone else gave you, that’s free too - Otto would rather keep a customer for twenty years than win one big ticket.
Frequently Asked Questions
Twice a year is the minimum in Dallas - once in the spring and once in the fall - using a dry silicone spray or PTFE lubricant. The heat and fine dust in North Texas mean that lubrication breaks down faster here than in cooler, cleaner climates, so if you hear a squeak between scheduled lubrications, don’t wait for the calendar. The maintenance schedule that matches how hard a Dallas door works is every six months, with a quick visual check any time the door sounds louder than normal.
After a Dallas hail storm, check the door panels for dents using a flashlight held at a raking angle, check the bottom weatherstripping for tears, verify the photo-eye sensors are still aligned (the vibration can shift them), and run the balance test to confirm the springs didn’t get knocked out of adjustment. Most hail damage is cosmetic, but a dent that breaks the paint seal will rust, and a shifted sensor means the door won’t close until it’s realigned. Call (972) 736-9689 if you find panel damage you’re not sure about - the estimate is free.
That grinding sound in a Dallas summer is usually the internal plastic gears in the opener, stripped because the heat has baked the grease out of them. The problem is heat, not age - a five-year-old opener in Dallas has seen the heat stress of a ten-year-old opener in a cooler climate. The fix is a gear kit in most cases, not a new opener, and Otto’s crew carries the parts for LiftMaster, Chamberlain, and Genie openers on the truck.
Run the 60-second balance test: close the door, pull the red release cord, lift the door to halfway, and let go. A balanced door stays put. A door that drops or rises has springs that are worn and need replacement - not repair. Springs in Dallas typically last seven years at four cycles per day, and an old spring that hasn’t snapped yet is still worth replacing before it does, because the alternative is a spring that fails while the door is open and the door falls.
No. The cable is under tension from the torsion spring, and releasing that tension is the dangerous part. The cable itself, when it releases, can whip with enough force to cut through skin and break bone. Otto will tell you straight: cable replacement is a relatively cheap professional job - often under $200 in Dallas for most single-door setups - and the medical bills from a DIY attempt run orders of magnitude higher. Call (972) 736-9689 and let a trained hand do it.
The cable inspection, by a wide margin. Most people check the rollers and the springs, but nobody checks the cables because nobody told them where to look: at the pulley wheel, where the cable flexes, with a flashlight at a low angle to catch the glint of broken strands. A fraying cable is a time bomb, and Garage Door Warning Signs: A Dallas Homeowner’s Reference Guide notes these warning signs are there for weeks before it goes. This one check, done every three months, catches more avoidable disasters than every other maintenance task combined.
The Bottom Line
The garage door maintenance checklist that keeps a Dallas door running for fifteen years instead of seven is not complicated. Lubricate twice a year with silicone spray - not white lithium grease. Run the balance test every spring and fall. Check the cables with a flashlight every three months, especially at the pulley. Test the auto-reverse monthly. Tighten the track bolts yearly. Check the sensors after storms and freezes. That’s the whole list, and most of it takes less time than a coffee break.
What it saves is the expensive part: springs that last their full cycle life, openers that don’t burn out early, cables that don’t snap, and a door that doesn’t leave a car trapped in the garage on a Monday morning. Otto’s Garage Door has been doing this work in Dallas since 2004, and the name on the truck is the name on the license. For more guides & resources, visit our blog. When the checklist finds something you’d rather not handle yourself, call (972) 736-9689 - a real person answers, the quote is upfront, and the price doesn’t change between the phone and the driveway.
Written by Otto Reinhardt, Owner at Otto’s Garage Door, serving Dallas since 2004.